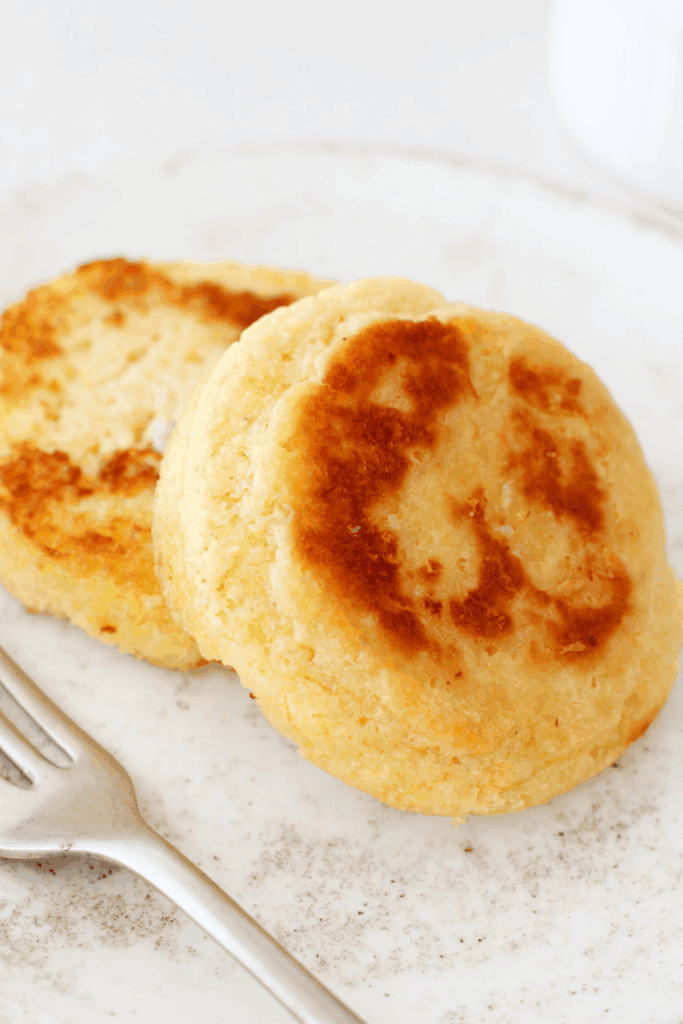
Making 90 second keto bread is one of the fastest ways to enjoy a warm, fluffy bread while staying low carb. This microwave keto bread comes together with simple pantry ingredients and cooks in just 90 seconds. I rely on this recipe when I want something bread-like without baking, kneading, or waiting for the oven to heat up. It’s soft, sliceable, and perfect for butter, eggs, or a quick keto sandwich.
This easy keto bread is ideal for anyone following a keto or low carb lifestyle, especially beginners who want a dependable bread option without complicated steps. Since it’s made in a ramekin and cooked in the microwave, cleanup is minimal and the results are consistent every time.
Try this Keto Naan Bread Recipe: A Low-Carb Delight
What Is 90 Second Keto Bread
90 second keto bread is a single-serve microwave bread made with low carb flours like almond flour and coconut flour. Instead of yeast, it uses baking powder to give the bread lift, creating a fluffy texture in a very short cooking time. The name comes from the cooking method — the bread is ready in about 90 seconds in the microwave.
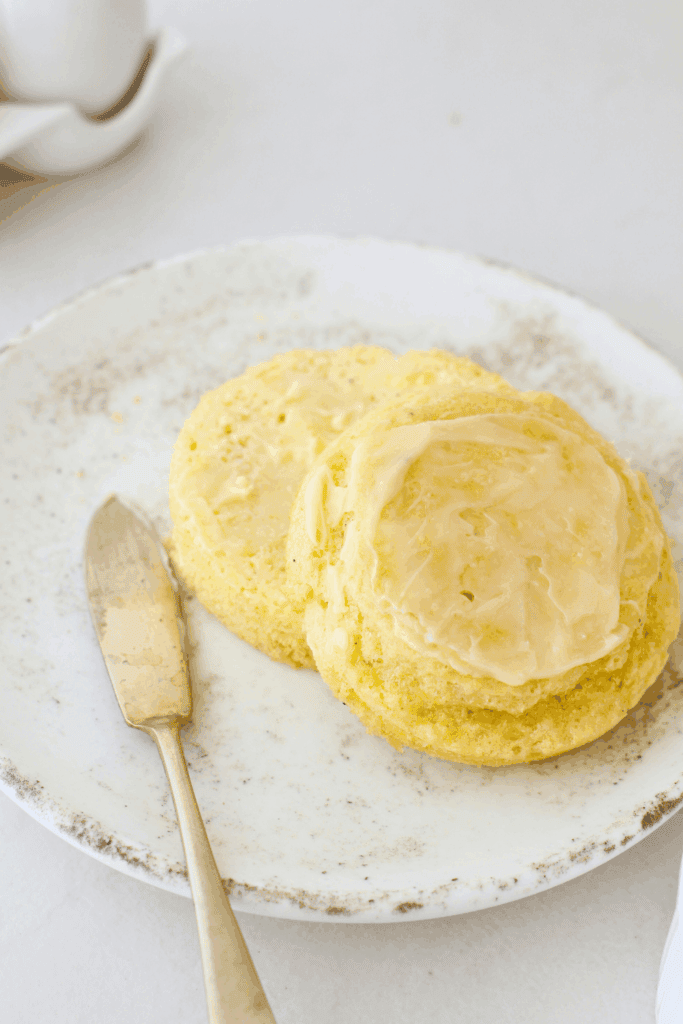
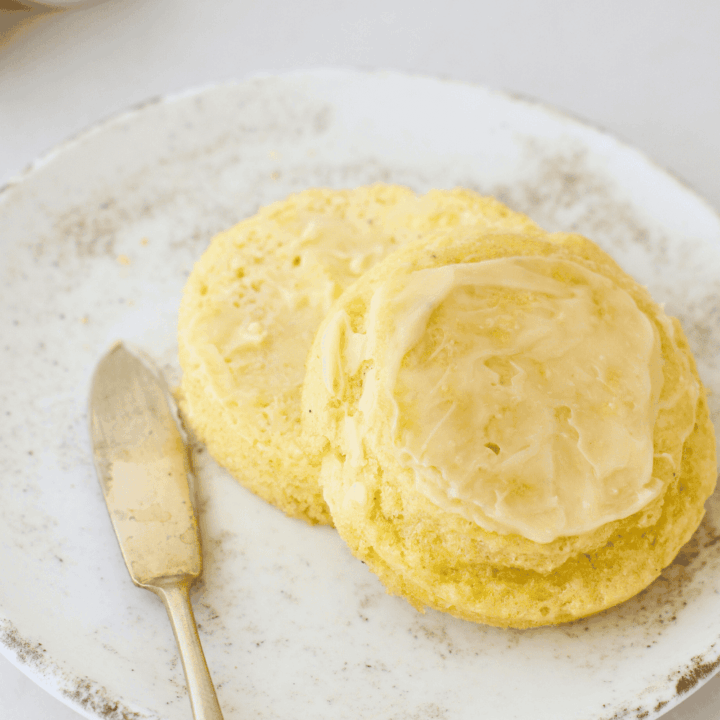
This type of keto bread is popular because it replaces traditional bread while keeping carbs low. It works well sliced in half for sandwiches, toasted with butter, or served alongside eggs, avocado, or keto-friendly spreads.
Ways To Serve Keto Microwave Bread
This 90 second keto bread works well in many simple meals. I like it toasted with butter for breakfast, used as a sandwich base for lunch, or paired with eggs and avocado. It also works as a quick side with soups or keto-friendly spreads.
Storage Notes
This bread is best enjoyed fresh, but it can be wrapped and stored in the refrigerator for up to one day. Reheat briefly in the microwave or toast before serving.
90 Second Keto Bread (Easy Microwave Bread)
This 90 second keto bread is one of the easiest ways to make low carb bread at home, even if you’ve never cooked keto before. Everything mixes in one bowl, cooks in the microwave, and is ready in under two minutes.
The texture is soft and fluffy, and once sliced and toasted, it works just like traditional bread without the carbs. If you’ve been missing bread on a keto or low carb lifestyle, this quick microwave keto bread is a simple recipe you’ll want to keep on repeat.
Ingredients
- 2 tablespoons almond flour
- 1 tablespoon coconut flour
- 1 tablespoon milk
- 1 egg
- ½ teaspoon baking powder
- 2 tablespoons butter, melted and divided
Instructions
- Add a small amount of the melted butter to a microwave-safe ramekin and swirl it around so the bottom and sides are fully coated.
- In a small bowl, combine the almond flour, coconut flour, and baking powder, stirring until evenly mixed.
- Add the egg, milk, and the remaining melted butter to the bowl and whisk until the batter is smooth with no dry spots.
- Pour the batter into the prepared ramekin and gently tap it on the counter to level the surface.
- Place the ramekin in the microwave and cook until the bread is set and no longer wet in the center.
- Let the bread rest briefly, then carefully remove it from the ramekin. Slice it in half, add more butter if desired, and serve as is or lightly toast before enjoying.
Notes
- This recipe is designed to be made in a microwave-safe ramekin, and the size of the ramekin matters. A ramekin that holds about one cup works best, giving the bread room to rise without overflowing. Make sure the ramekin is well coated with butter so the bread releases easily after cooking.
- Finely ground almond flour should be used instead of almond meal, as almond meal can make the bread dense and gritty. Coconut flour absorbs moisture very quickly and should not be replaced with additional almond flour.
- Mixing the dry ingredients together before adding the wet ingredients helps prevent clumps and creates a smoother batter.
- Cracking the egg into a separate bowl first helps avoid shell pieces, and whisking thoroughly is important so the bread cooks evenly without rubbery spots.
- Microwave power levels vary, so cooking time may need slight adjustment. The bread is done when the center is set and no longer wet.
- If the center feels soft right after cooking, allow it to rest for a minute, as it continues to set while cooling. If needed, add microwave time in short bursts rather than cooking it longer all at once.
- Let the bread cool briefly before removing it from the ramekin and slicing. Cutting too soon can cause the bread to compress or crumble. Using a small serrated knife makes slicing easier and helps keep the bread intact.
- If the top rises unevenly, gently pressing it down while still warm can create a flatter surface for slicing and sandwiches.
- This bread is best enjoyed fresh, but it can be stored once fully cooled. For short storage, wrap it and refrigerate for up to one day. For freezing, allow the bread to cool completely, wrap it tightly in plastic wrap, and place it in a freezer-safe bag. It can be frozen for up to one month.
- To thaw, leave it at room temperature for about fifteen minutes or warm it gently in the microwave. Toasting after thawing improves texture and removes excess moisture.
- For the best overall texture and flavor, slicing and lightly toasting the bread after cooking is recommended, especially for beginners. Toasting helps the bread feel firmer and more similar to traditional bread, making it ideal for butter, sandwiches, or savory toppings.
Nutrition Information:
Yield: 1 Serving Size: 1Amount Per Serving: Calories: 517Total Fat: 44gSaturated Fat: 19gUnsaturated Fat: 25gCholesterol: 247mgSodium: 565mgCarbohydrates: 16gFiber: 5gSugar: 4gProtein: 16g
Leave a Reply